Solving Broken Images When Exporting Craft Documents
The Problem
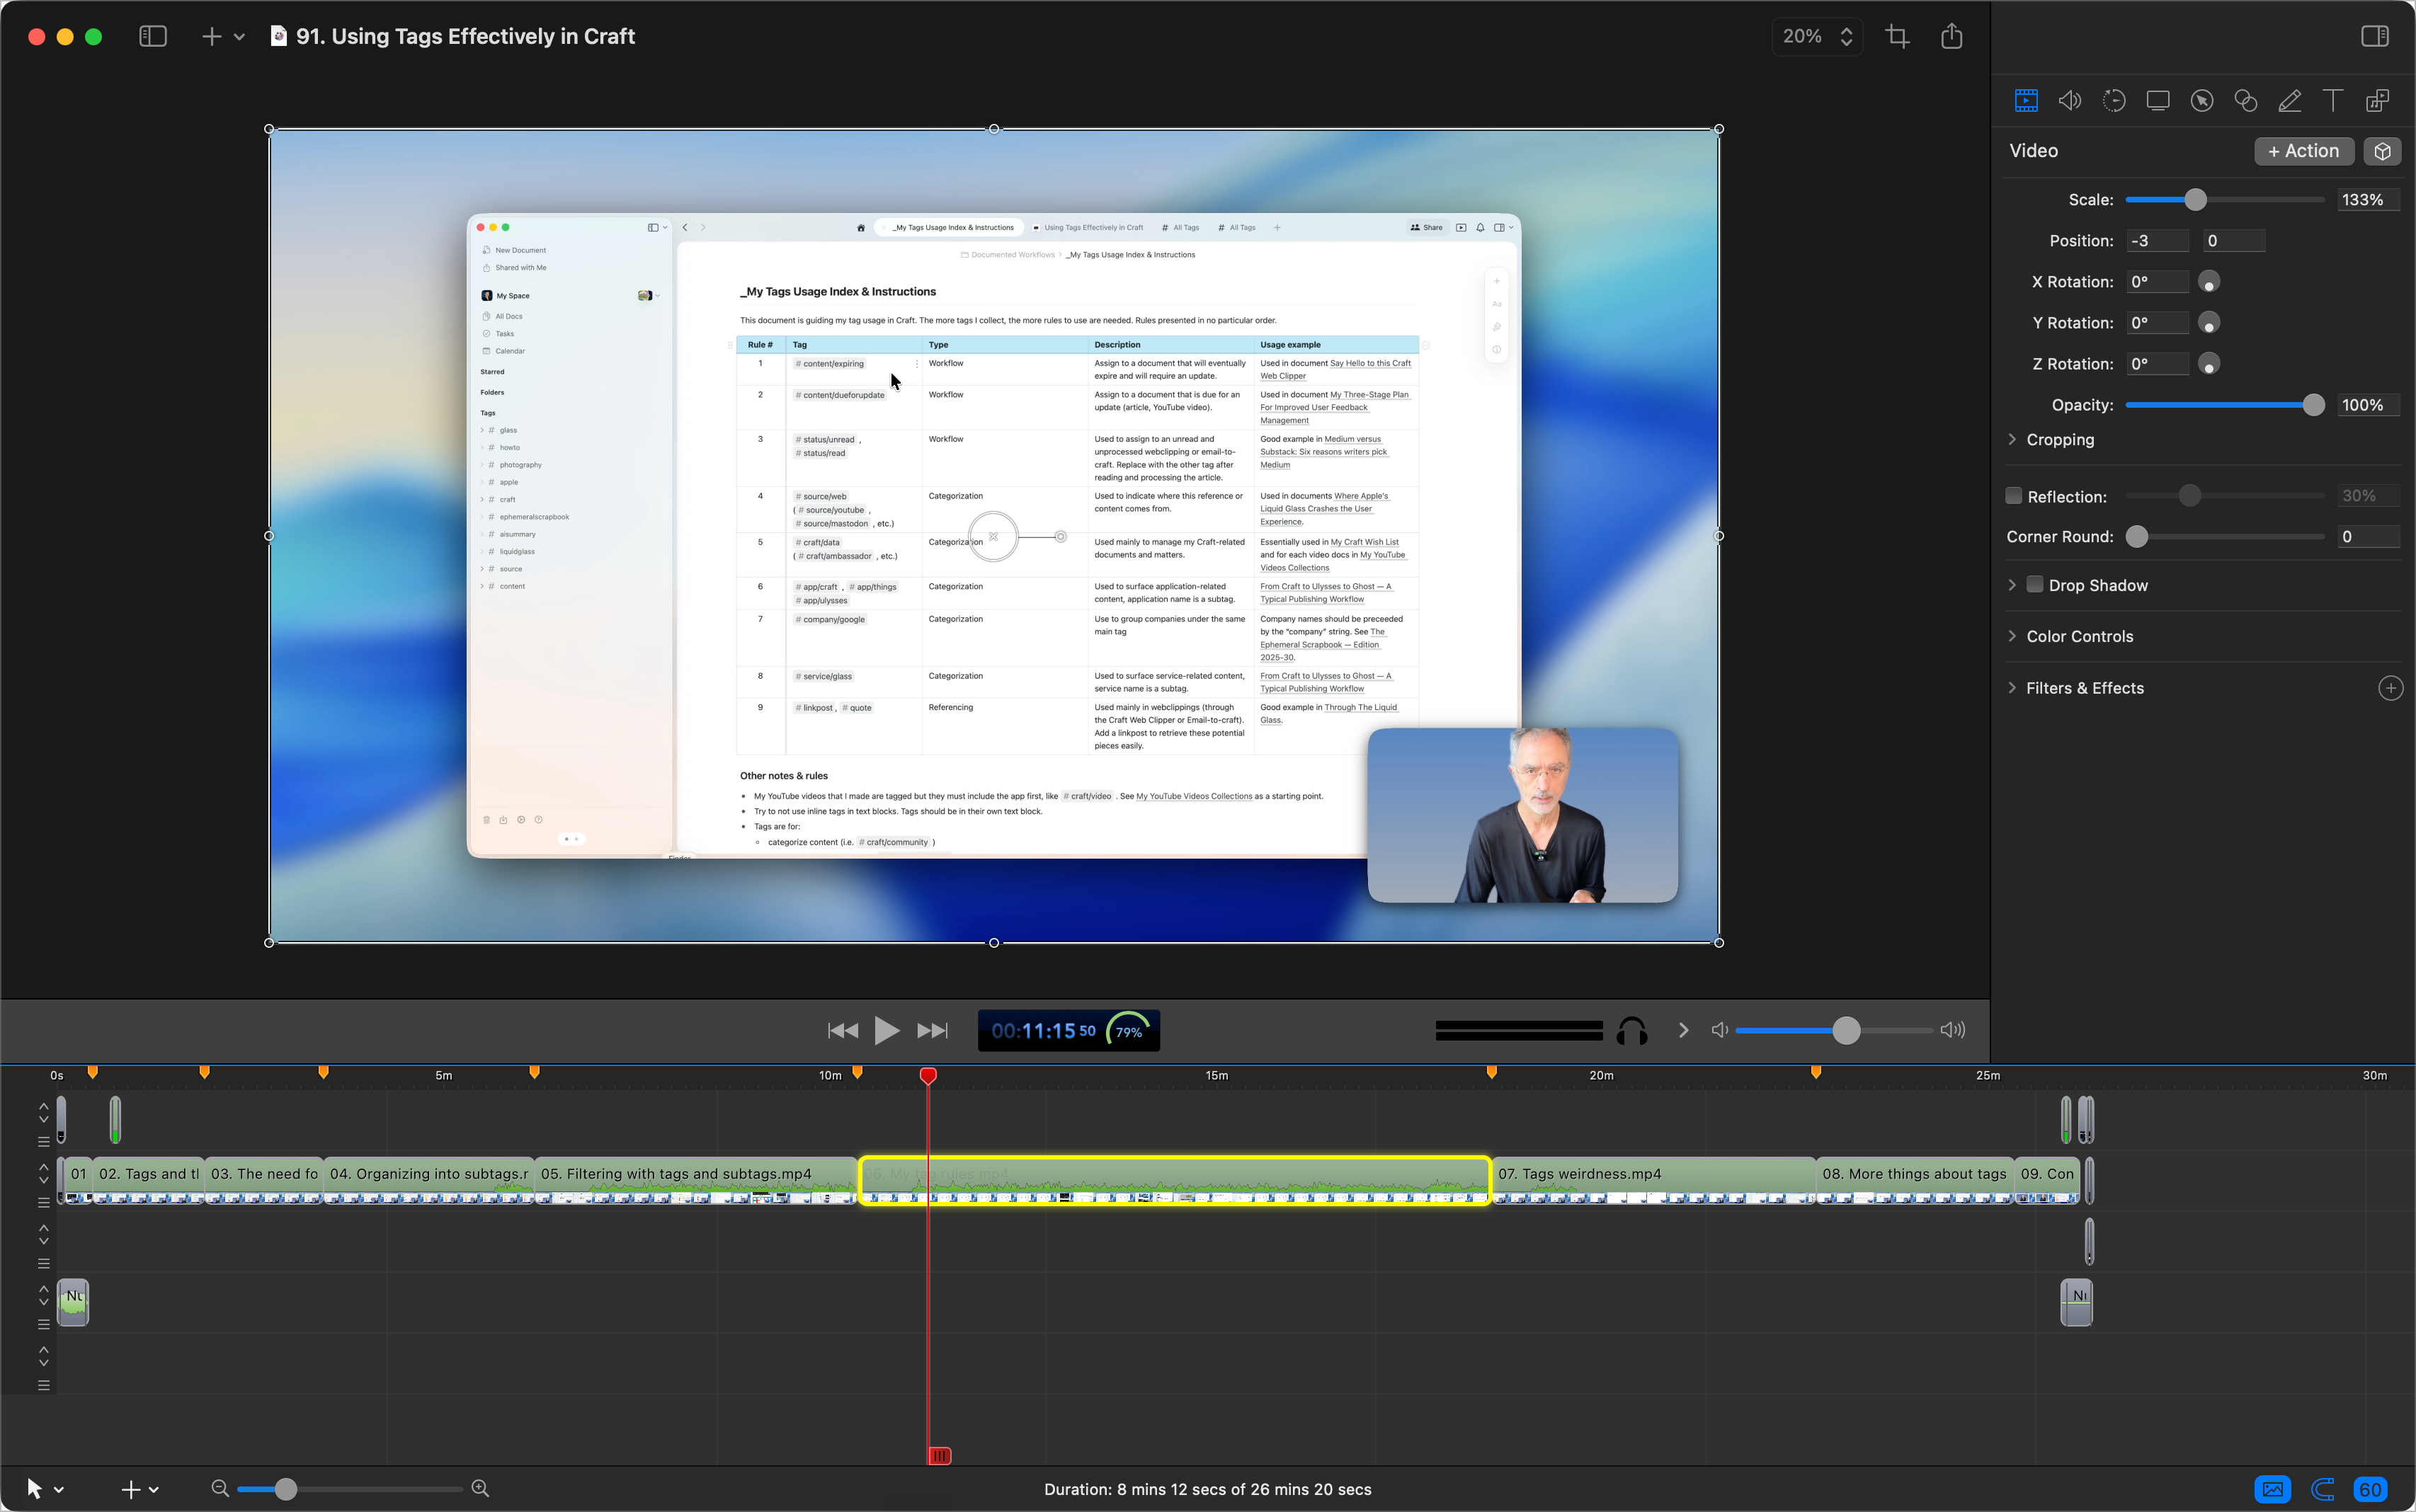
When exporting articles from Craft to Ulysses and Micro.blog, images referenced by temporary URLs quickly become broken links. Craft hosts images with public URLs that expire within days, leaving your published posts with missing images. This automation workflow solves that problem by re-hosting all images on Micro.blog before publishing.
How It Works
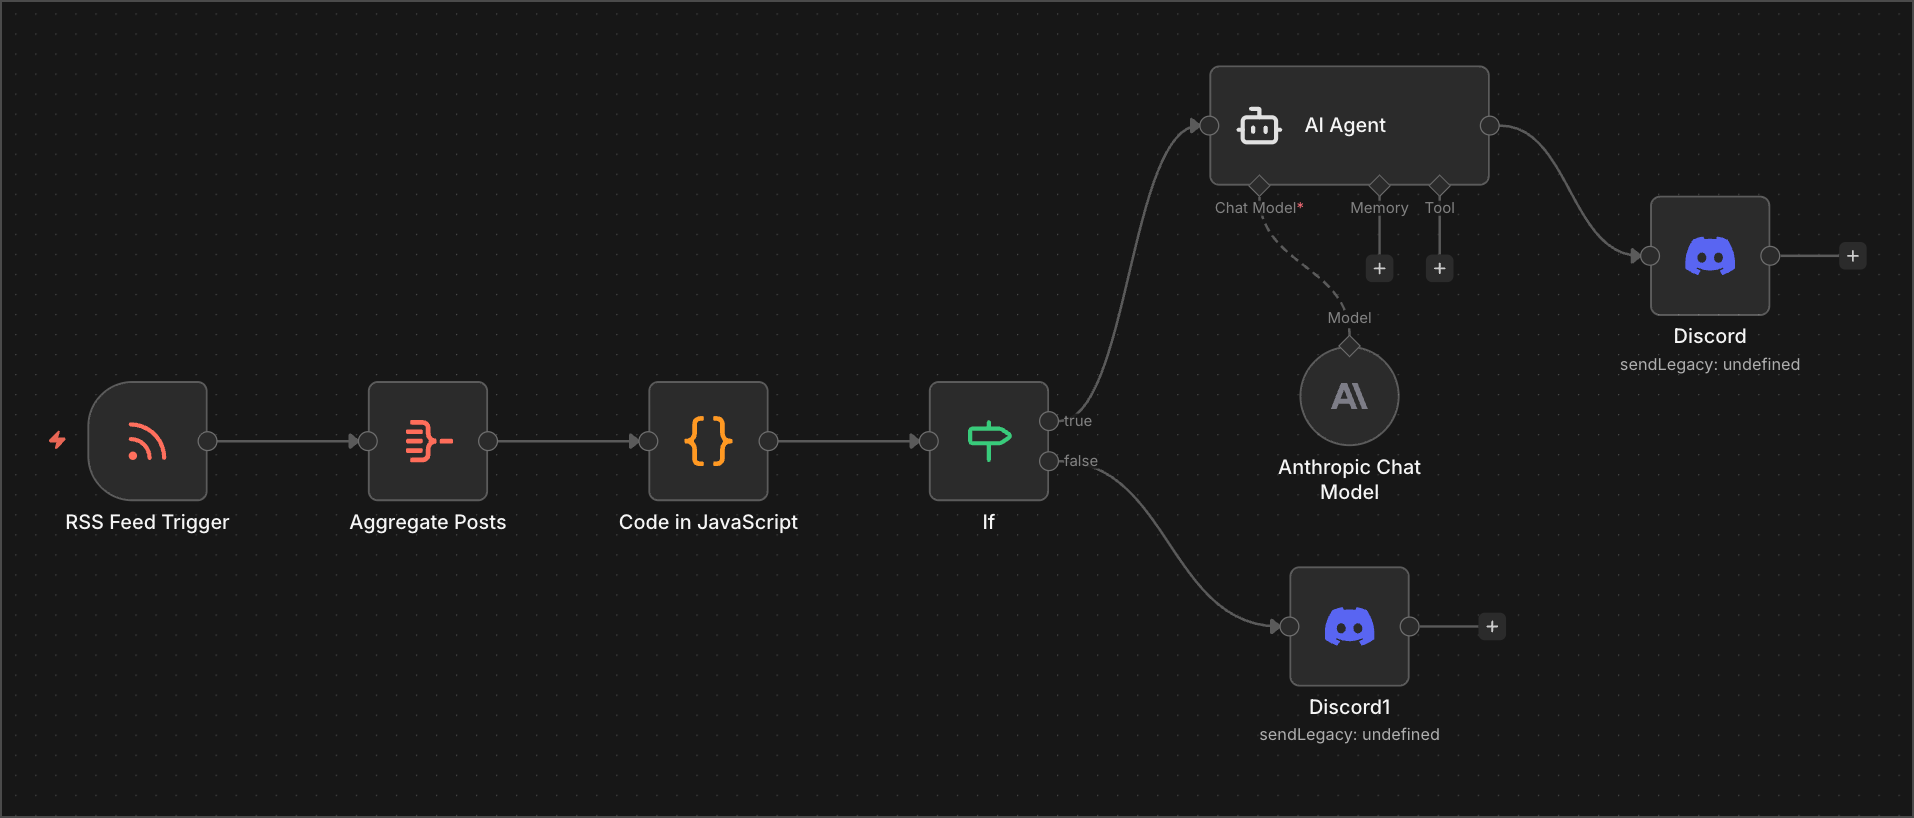
The workflow is triggered when you request to publish a Craft document to Micro.blog. Here's what happens behind the scenes:
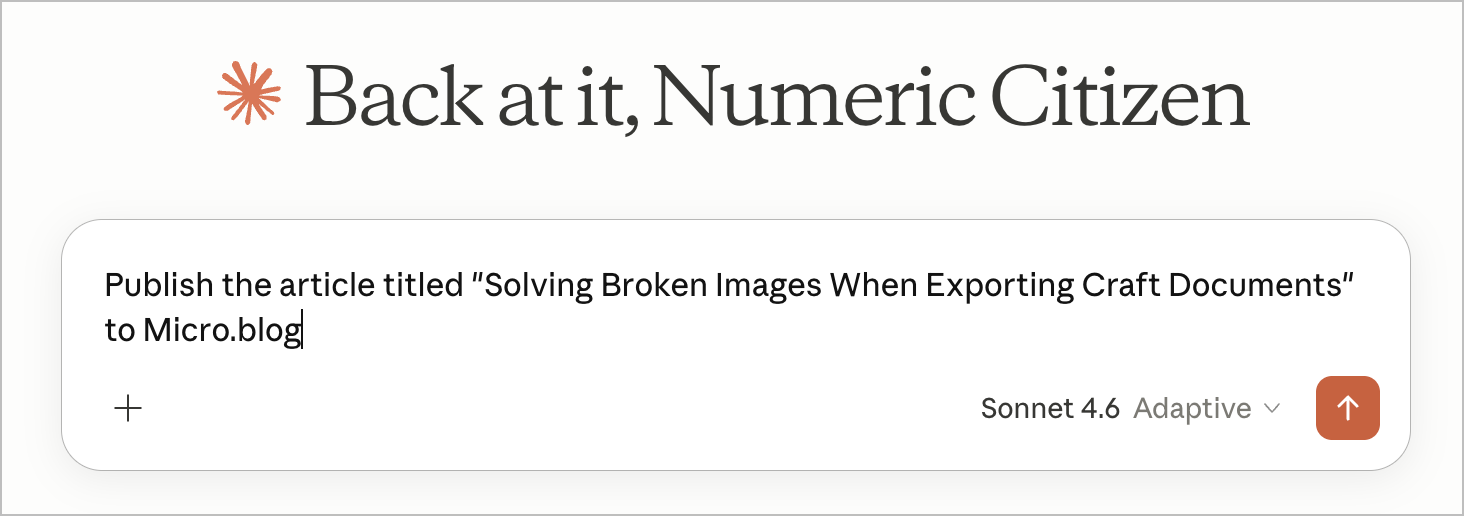
- A request is send in Claude with the article title to publish
- The n8n automation searches my Craft space and uses a scoring algorithm to find the exact document (preventing false matches from body text mentions)
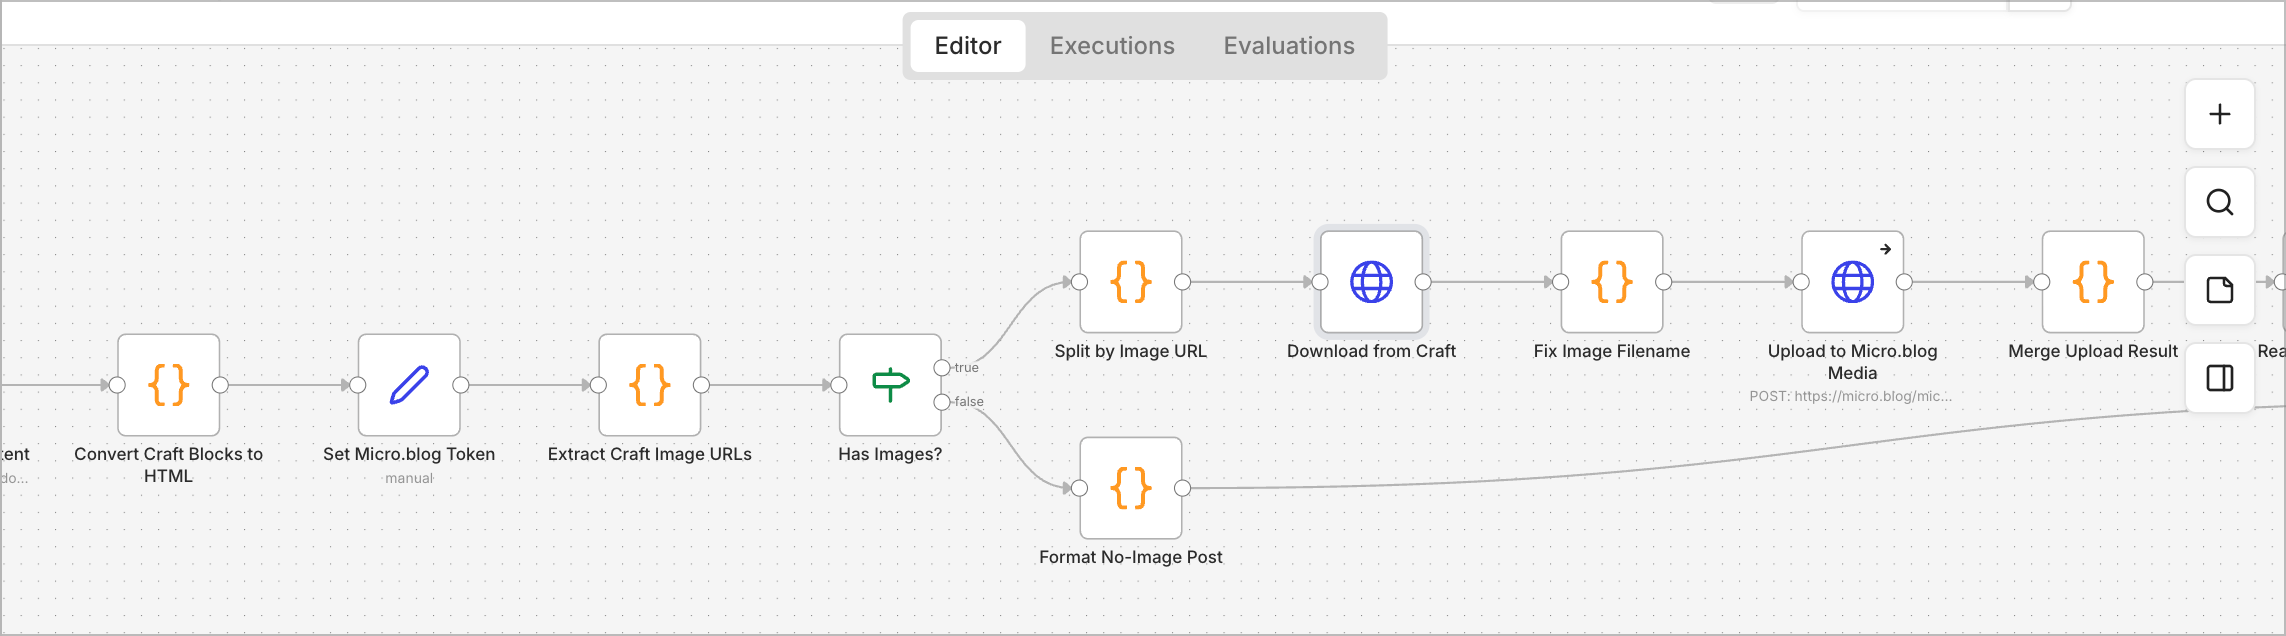
- The document's content is converted from Craft's block format into clean HTML, preserving headings, lists, formatting, quotes, code blocks, and more
- The workflow scans for all image URLs pointing to Craft's backend hosting
- Each image is downloaded from Craft and immediately re-uploaded to Micro.blog's permanent media storage
- All image references in the post are updated to point to the new, stable Micro.blog URLs
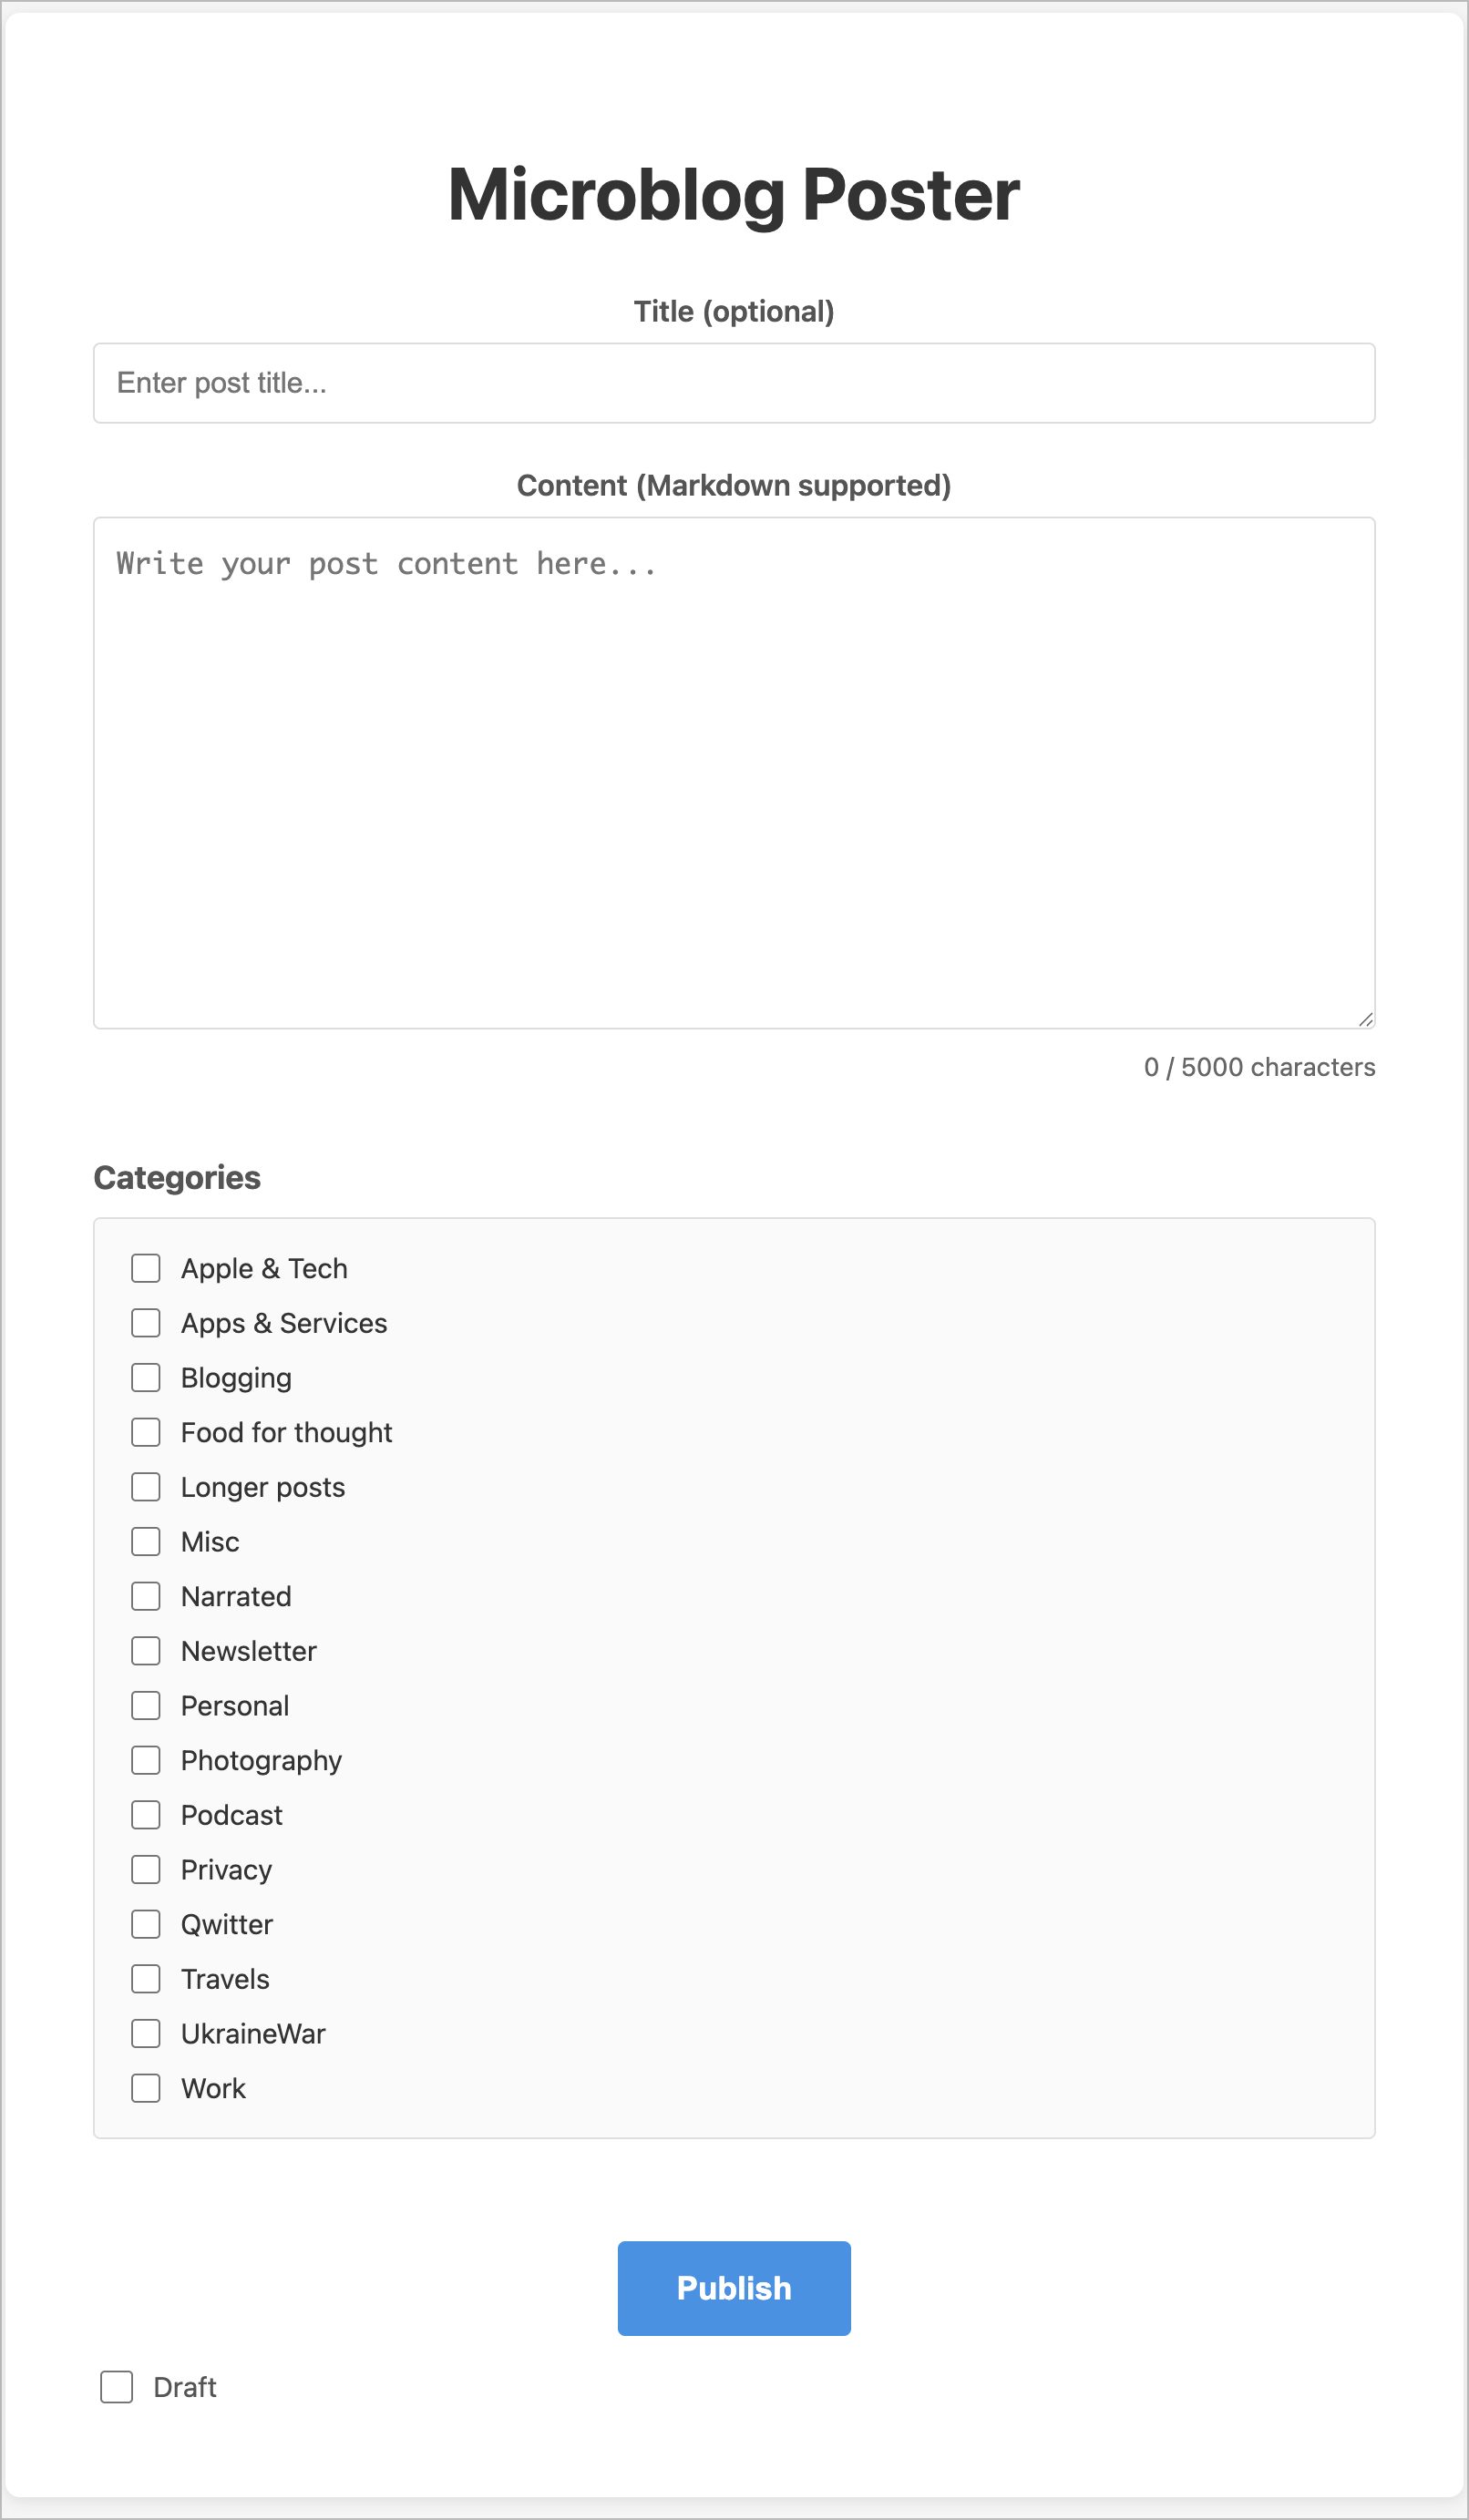
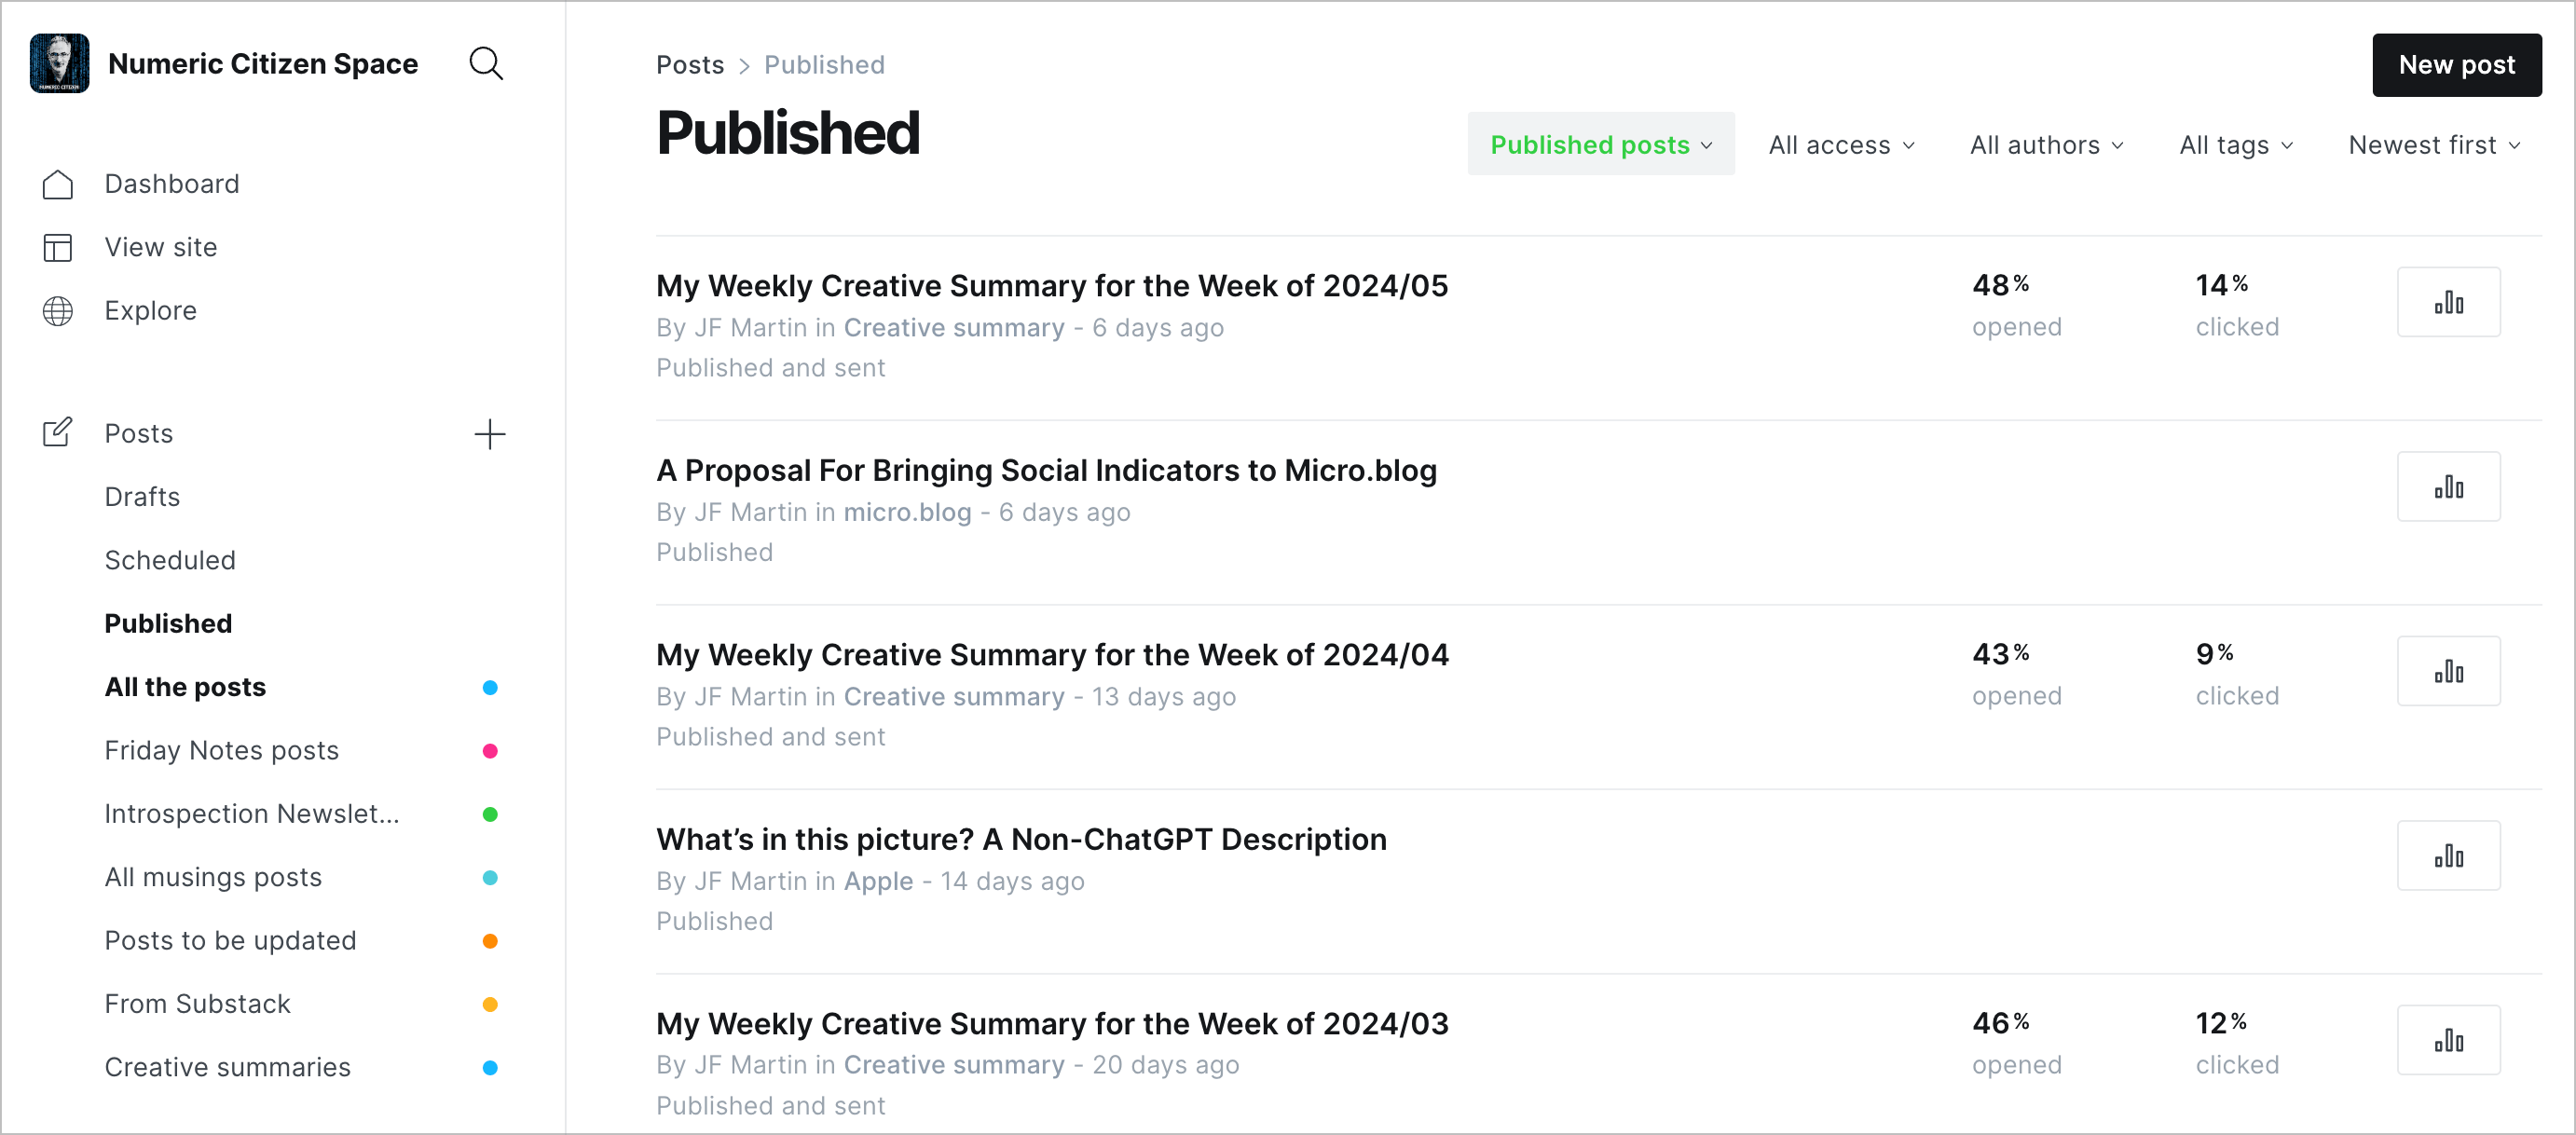
- The article is published as a draft to Micro.blog for review before going live, which is a manual process
Key Technical Features
Smart Document Matching
The search algorithm scores results by how closely the document title matches the request. Exact matches score 100, partial matches score lower, and body-text mentions are heavily penalized. This ensures I get the right document even if multiple articles discuss similar topics. The search is done via Craft API endpoint.
Rich Content Support
The conversion preserves all the formatting: paragraph styles, heading levels (h1–h4), bullet and numbered lists, blockquotes, task checkboxes, strikethrough text, code blocks, horizontal rules, and rich link bookmarks. Consecutive list items are automatically grouped into single lists.
Graceful Image Handling
If an image fails to upload (for example, unsupported formats like AVIF), the system keeps the original Craft URL in your post rather than failing entirely. This ensures the article publishes even if one image has issues.
Manual Review
All posts are created as drafts in Micro.blog. I can review the final result, check that images loaded correctly, and make edits before publishing it live.
Workflow Specifications
- Trigger: Webhook at craft-to-microblog (available in my n8n instance wirh MCP endpoint enabled)
- Input: Simple JSON with the article title to publish
- APIs used: Craft's document search and block retrieval, Micro.blog's Micropub standard API
- Typical execution: 4–6 seconds (image uploads add ~1.5 seconds)
- Output: Draft post URL, preview link, and edit URL from Micro.blog
Why This Matters
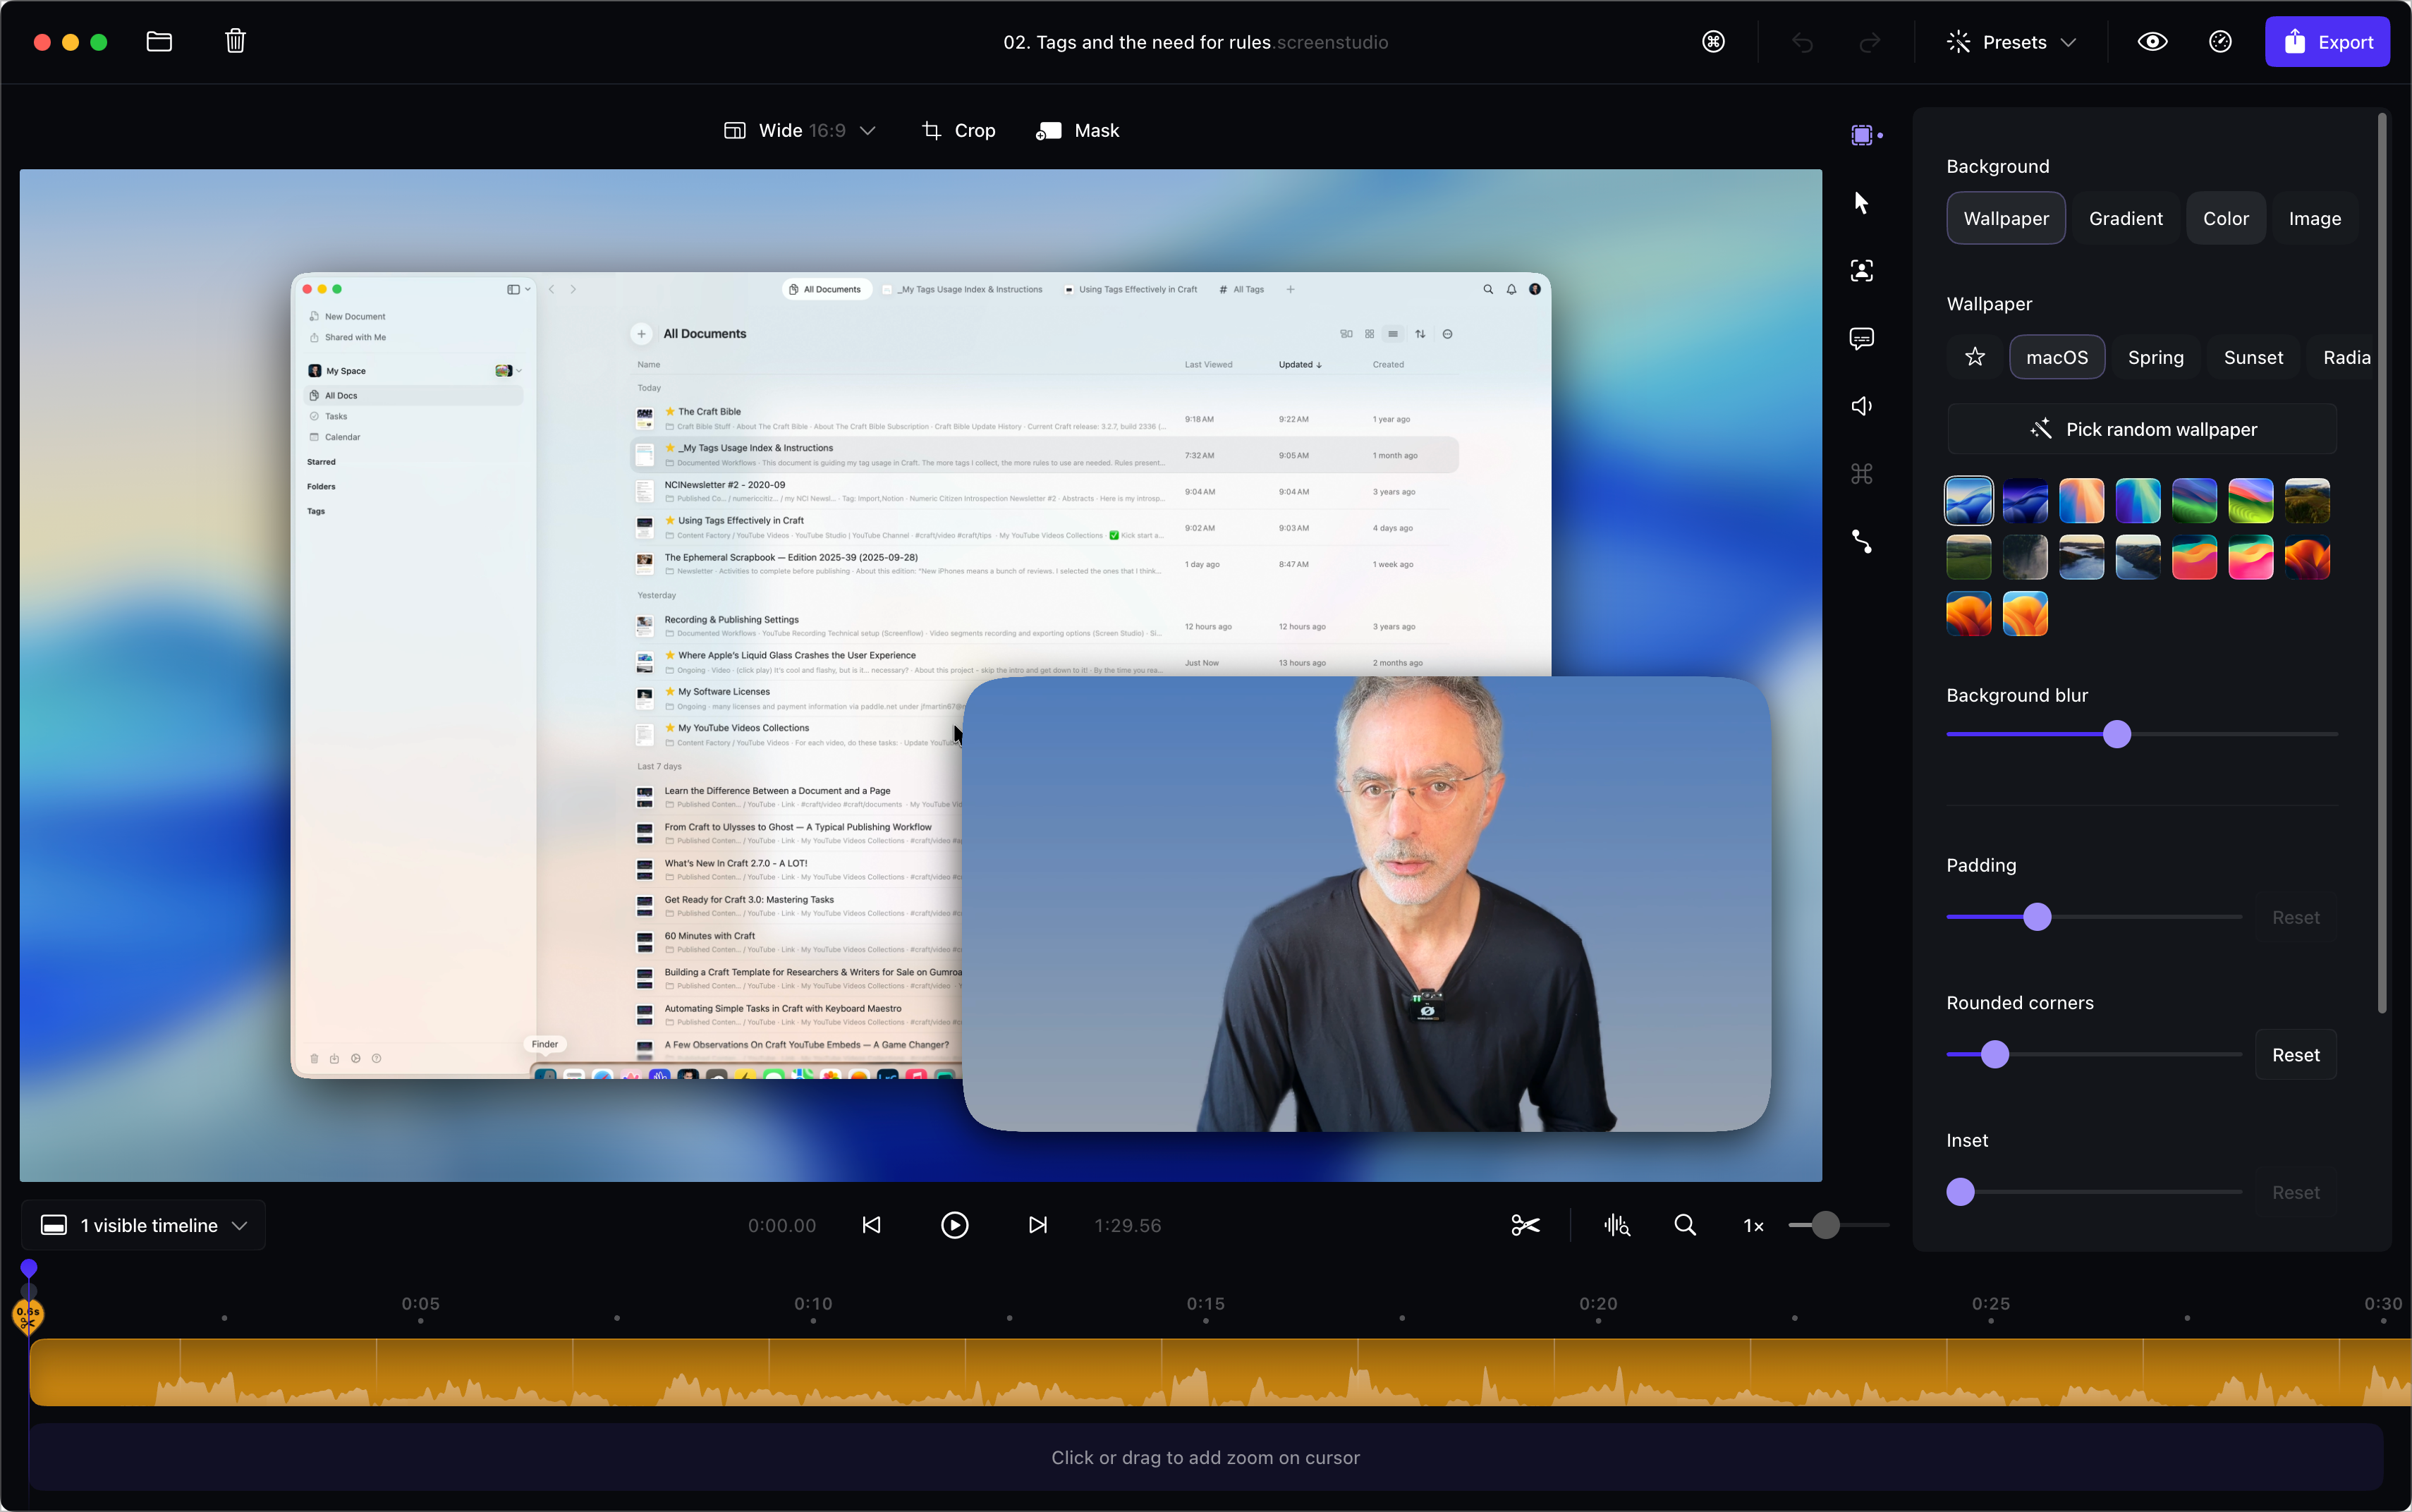
This automation fills a gap in the content publishing process. I can craft and organize my articles in Craft, a versatile and attractive writing environment, and then publish them to Micro.blog without losing images or manually fixing broken links. I use a similar method to publish new editions of the Ephemeral Scrapbook newsletter, which relies on a separate n8n workflow to handle Ghost CMS-specific requirements.