Why I Built a Micro.blog Front End?
5 min read
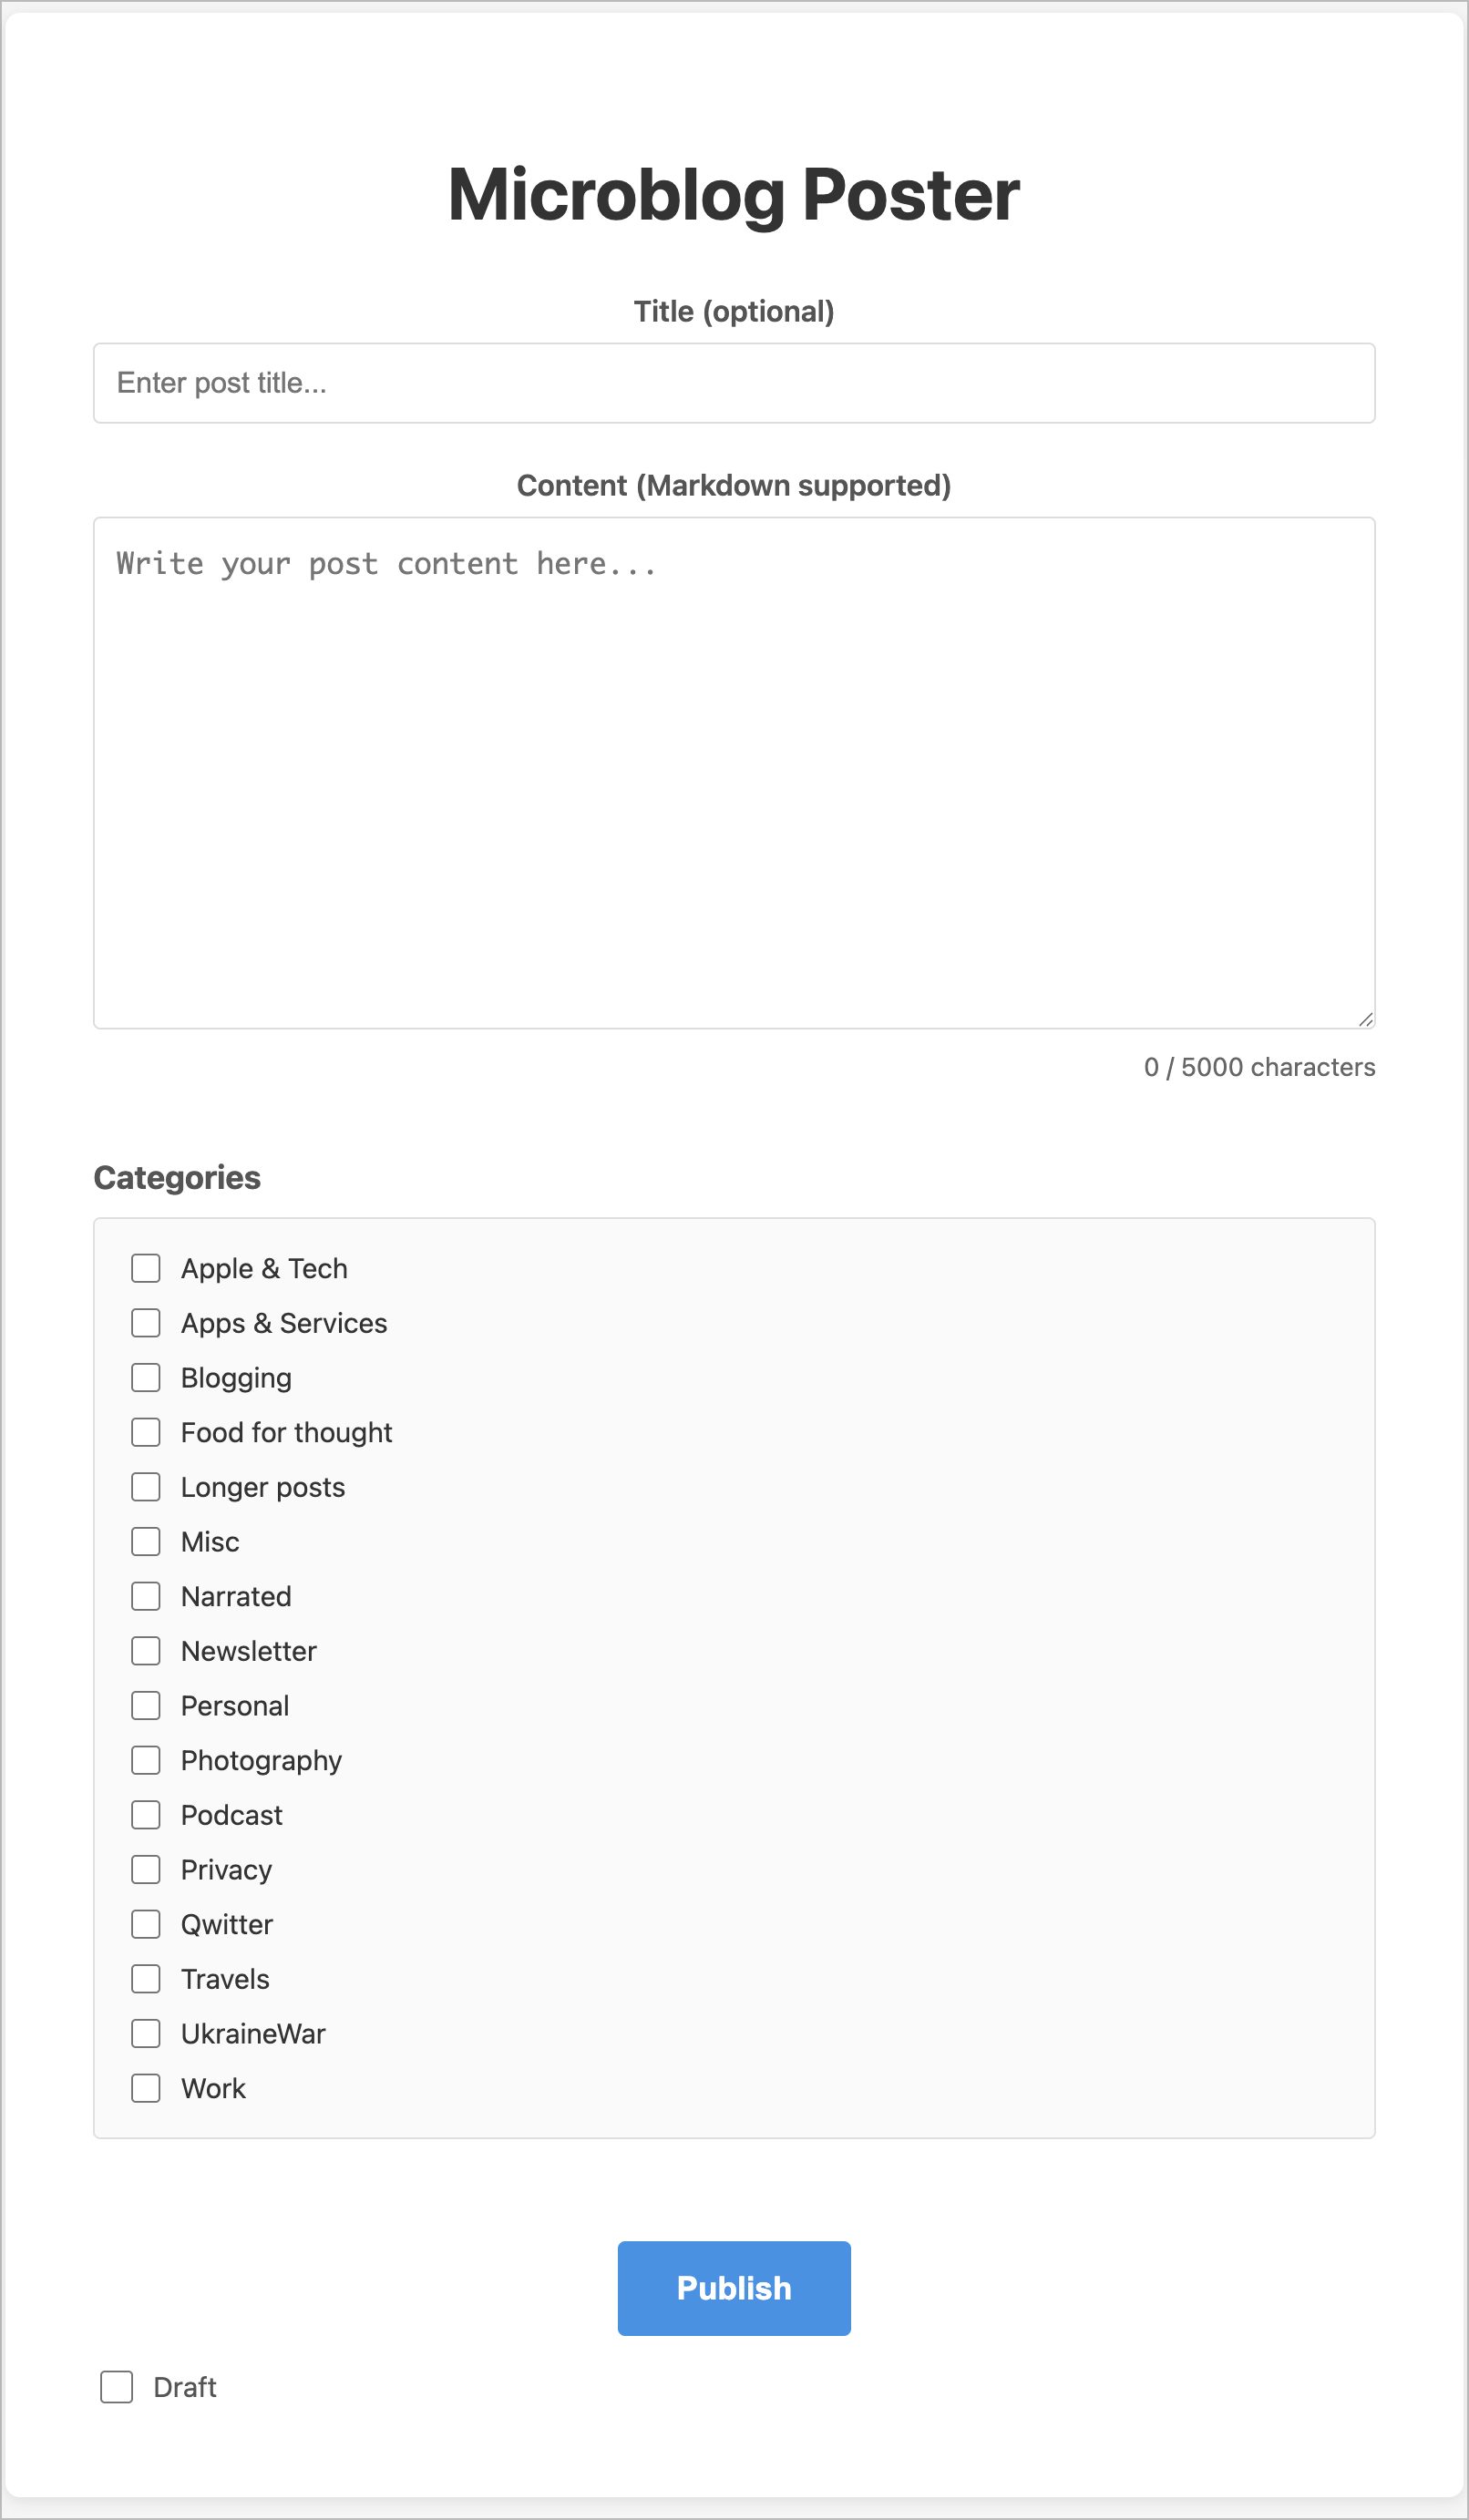
As recently shared on my blog, I have finished (or mostly finished1) building a simple front end for Micro.blog. This front end, as depicted in the following screenshot, presents the user with a straightforward UI: a title field, a body field, blog post categories, and a Publish button—very focused, with no distractions. It works on desktops and mobile devices. I even added PWA support. But why did I build this?
First, I wanted to dip my toes into Vercel. I’ve recently stumbled upon many posts about web apps built and deployed on Vercel by people claiming no programming experience. Most people were using Claude AI or Claude Code to describe their app and deploy it to Vercel. Some apps were impressively designed and functional. Yet, I thought it wasn’t that easy and required a lot of technical knowledge. I was intrigued. I was “mostly” wrong.
I’ve been using Claude AI since mid-December, in conversational mode, for different tasks, including getting explanations on building apps on Vercel and other platforms. I’ve been looking for small project ideas since then. Building a simple front-end to Micro.blog quickly became the perfect test. Micro.blog offers a simple API for many things. Using Claude and the API documentation, I asked Claude AI whether it was possible to build a simple UI for posting on Micro.blog. Sure enough, it was. My initial prompt describing the envisioned app follows:
Let’s build a web app hosted on Vercel that lets me to write blog posts for Micro.blog. The form will include only two text fields: a blog post title and the blog post text itself. Include a character count that will update as I type. Maximum of 5000 characters. The web page should include a title “Microblog Poster", centered.
Micro.blog supports Markdown, so the blog post text field should support it too.
The authorization token should be stored in an environment variable named “microblog_token” which I will provide once the project is created on Vercel.
I will use a GitHub repo, which should be named after the application name: “(redacted)” where the app will use the full URL: https://(redacted)
Provided that Micro.blog supports draft posts as exposed in the Micro.blog APIs, a toggle named “Draft” should be on the web form and be off by default. When enabled, this means I can send the blog post to Micro.blog but with a draft status. Otherwise, the blog post is published.
The initial state of the web app is to list all available blog post categories as a series of checkboxes, all off by default. You will need to retrieve possible blog post categories during the initialization phase. A blog post can have more than one category selected or none. This list of checkboxes should be left-aligned. The category list should be saved in the browser’s local storage and initialized on the first invocation of the web app.
The form will contain a button “Publish” centered horizontally (like all the other UI elements, except the toggle underneath the Publish button which should be left aligned. Once clicked, if the post operation is successful, add a small banner (centered) telling me the operation was successful with an appropriate message.
For a non-draft post, after hitting Publish, the form should display a clickable link to the blog post’s final URL. For the draft post, you should display the clickable link to the draft post instead.
Images or any other attachments are not needed.
You can look at micro.blog API documentation in the following URLs:
For reading data from Micro.blog service: https://help.micro.blog/t/json-api/97
For posting to Micro.blog service: https://help.micro.blog/2017/api-posting/
After a few hiccups and errors, it eventually worked. I had to install GitHub Desktop on My Mac as well as Visual Source Code, but I eventually realized Claude AI wasn’t optimal. I ultimately switched to Claude Code to iterate on the initial release. My experience was so much smoother. I do experience so weird issues with GitHub, but it seems without impacts on the deployment.
So, building the app requires a GitHub repository for holding the source code. Vercel connects to my GitHub repo, and as soon as a new commit is made, a new app deployment happens; It’s all automatic. One important thing to know: a project environment variable2 to hold the Micro.blog app token is needed before trying the app for the first time.
My first try mainly worked as expected. I made sure to have a draft mode available in the UI so that I don’t mess up my timeline with test posts. Once the app is deployed and available for use, any modifications are made through prompting Claude Code on my local machine. Code changes are pushed to GitHub on demand. It takes a few minutes for a new iteration to be available for testing.
If you have any questions or comments, feel free to post them, and I’ll do my best to answer them to the best of my knowledge.
One more thing: Vercel is free to use in my case because my app is relatively lightweight. Lastly, one benefit of building my app is that it will circumvent a design issue with Micro.blog’s post editor on the web: the title field and categories aren’t listed by default. I find this to be annoying. My app shows them. I’m happy with that.